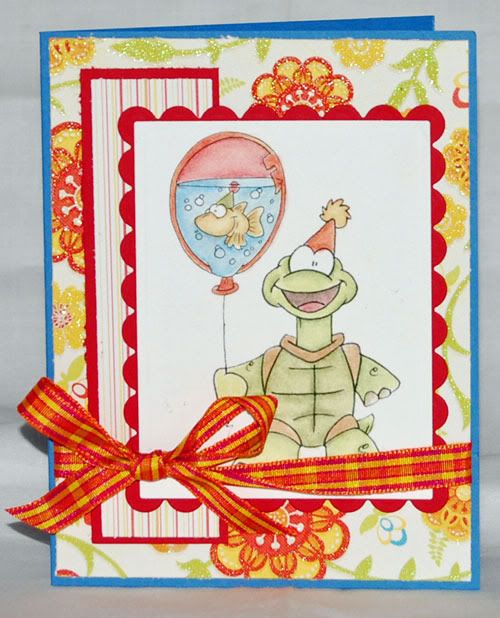
 I started by taking the standard .jpg image, duplicated the layer, trashed the original layer and using the magic wand, highlighted and deleted the background. I converted the image by saving them over to .png format. This allowed me to do a transparent background for each of the animals. After I had them converted, I started combining. Why would the party turtle be content to hold a simple balloon when he could have a fish balloon instead? And what respectable fish goes to a party by himself? Once combined, it made for a great card.
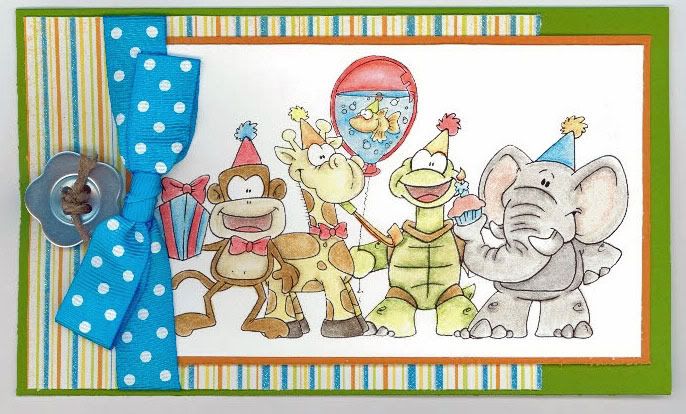
But if two's company, then five is an all out party. I picked my tallest animal and resized the canvas to 6" wide. I saved this to a new name to make sure I didn't muck up my original. I opened all the animals and duplicated them as individual layers into the new wide file. I flipped and layered all of the animals until I liked the grouping. Having them each on their own layer allowed me to be very flexible. Plus, the layers let me turn off an image if it was distracting me from getting the results I wanted with another layer. After I had all the animals just where I wanted them, I resized the entire group to fit the card size I wanted and then printed them out. I made sure to save the final file as I knew this was a grouping I would want to use over and over.

So for about 15 minutes worth of work, I have an image I can print any time I choose without having to mask and ink each time! I realize that I just took fifteen to twenty minutes worth of work (not including the coloring and card making) and condensed it into three short paragraphs. For those of you who aren't gibbering and may be going "how about a tutorial....", I'm going to decline. I spent a couple of years in technical support and I'm very familiar with the nightmare that different programs, heck even different versions of the same program can cause when trying to create a decent software tutorial. I can tell you step by graphic step how to do this process in Photoshop Elements 5 as that's what I use. I can't, however, tell you how to do it in Paint Shop Pro, Microsoft Photo Editor or even Picasa, because I don't use those programs.
Since I've gone technical and complicated on you with this post, I'll round out with what I use for printing. I have a monster multi-function color laser sitting on a filing cabinet in the death trap that is parading as the office. My husband's 3/4 of the room looks like it's recovering from some gale force straight line winds. My half looks like an F5 tornado hit it. The printer is in one of the few clear spots in the room. Which makes it easy to get to when I need to load it with a sheet of Gina K. Pure Luxury cardstock. Since the laser printer fuses toner to the cardstock at high heat as part of the printing process, I don't have to worry about bleeding. When I first started using Zest-it with my printouts I had some issues where it would try to disolve the toner (it is solvent, after all), but the new solvent pump I got for Mother's day has me using less Zest-it, eliminating that problem.
I have a nice Epson 785EPX that's sorta ancient and has been buried on my desktop for over a year. I really need to put it out on the curb and see if someone will come by and give it a new home. So I don't have any point of reference for inkjet printing in combination with digital images and coloring. I can pass on a few tips from others that I've read. If you're having bleeding problems, try heat setting the image or print your images a day or so in advance giving them time to dry and cure before coloring.
 All that being said, if you're still with me, I'm still working my way through the Die Cuts with a View Citrus Pad. The bright, cheerful paper makes me feel like spring even when it's pouring rain outside my window. I used rectangle and scallop rectangle nesties on the party turtle with his fish balloon. Flowers are Prima, Cardstock is Bazill this time and buttons are once again Creative Cafe.
7 comments:
Wow, fab Works! love them both!
Hugs
Domi
Gorgeous cards :-) I am going to have to try moving things about ! I usually print them and cut them all out but this sounds much easier !!:-)
Thanks for joining the Simon Says Challenge :-)
Lorraine x
p.s the laser printer sounds fab too ! :-)
Brilliant cards with really cute images and fab papers.
Thanks for joining the Simon Says Challenge.
Hugs
Iris
looks fab, I tried my first "multi-image/single-print..lol
Love these cards and how they turned out!! Boy, I'm glad you explained all the technical details coz I couldn't do that!!! LOL
Great job!
Hugs,
Charlotte
Fab job with these Vee!
Hugs
Lana x
V - awesome job. I LOVE how you put the goldfish in the balloon - he looks great!
Post a Comment