I am truely blessed to come from a family that loves hand made gifts. At least, they love mine. They rave about them, display them in prominent places in their home or at work and really suck at taking good photos of these projects. I adore my family, really I do, but I seriously need to work on their photography skills. That being said, between my mom and my sister, I have a fairly decent collection of photos of my project.
One of my very favorite alterables is Cosmo Cricket's Lacing Cards. I believe these are still readily available from a bunch of places. If not, you should go and hound them mercilessly until they release them again. They are the best thing since possibly sliced bread. Unless you're hungry, as I don't recommend eating them. They come four to a package. For my projects, I used three packages. I needed 6 cards per recipient to spell out the word FAMILY. So first, a view of the finished project. This one belongs to my mom.
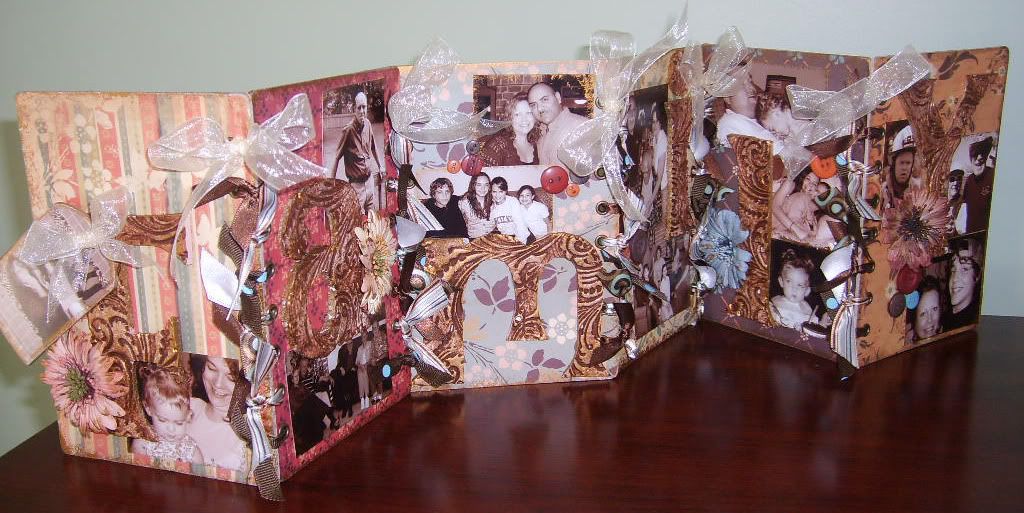
Not a bad photo overall (thanks Photoshop!). So let's talk details. The letters gracing the front of each card are not at all what they appear to be.
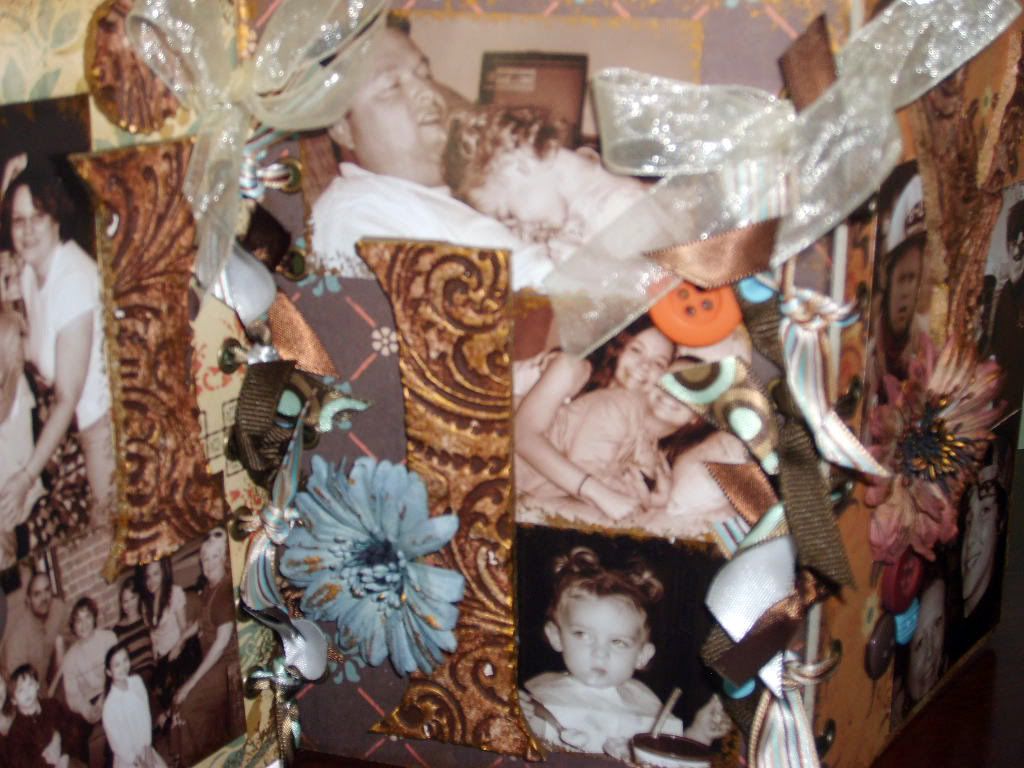 In person they have the look of tooled leather. They are something rather less than that, however. The letters started life as Crayola Model Magic. This is a very light weight modeling compound that dries to the consistence of fun foam. I rolled it out to around 1/8" thick and then stamped it, covering the surface. This can be done with would mounted stamps, but I've found the best and easiest way to do it is using acrylics. Don't worry about a block, just press the stamp into the foam, pushing firmly across the surface. The variety of pressures you apply using your fingers helps give the finished piece just that much more texture.
 Let the Model Magic dry for a good 24 hours. Flipping occasionally to help it dry. It may crack, that's okay. Again, more texture for your finished piece. I roll it out on tinfoil using a brayer with an acrylic insert. After stamping, I transfer the piece to a double layer of paper towels. One large package of Model Magic is generally enough to do all six letters. I ended up using three small packages and had enough for both sets of cards.
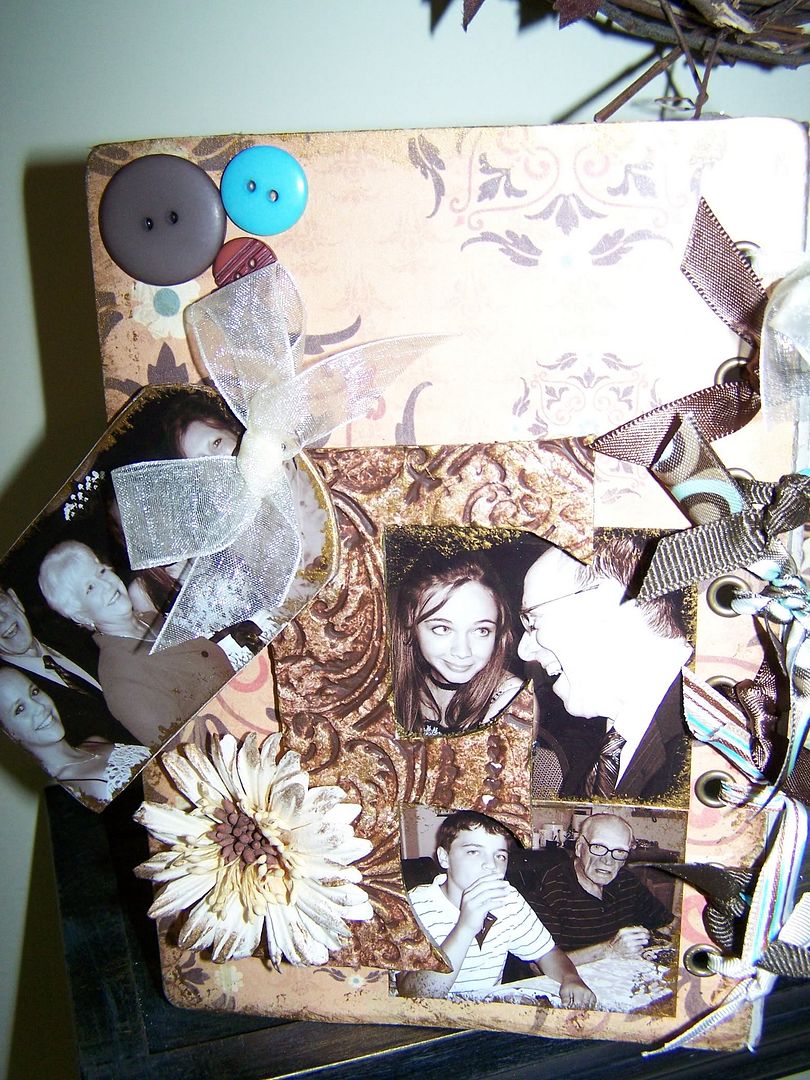 While the compound is drying, alter the cards. I used Cosmo Cricket Gretel papers. The tones worked perfectly with the sepia tint I used when ordering my prints. Plus, I knew it would match the decors in my sister & mom's house. I use Aleene's Tacky glue in the gold bottle. After drying, I used my crop a dile and repunched the holes down the sides of the cards. the outer two cards just get holes done on one side. I used the large side and followed up with We R Memory Keepers big eyelets in their antique gold finish. I edged the cards and all the photos in gold paint.
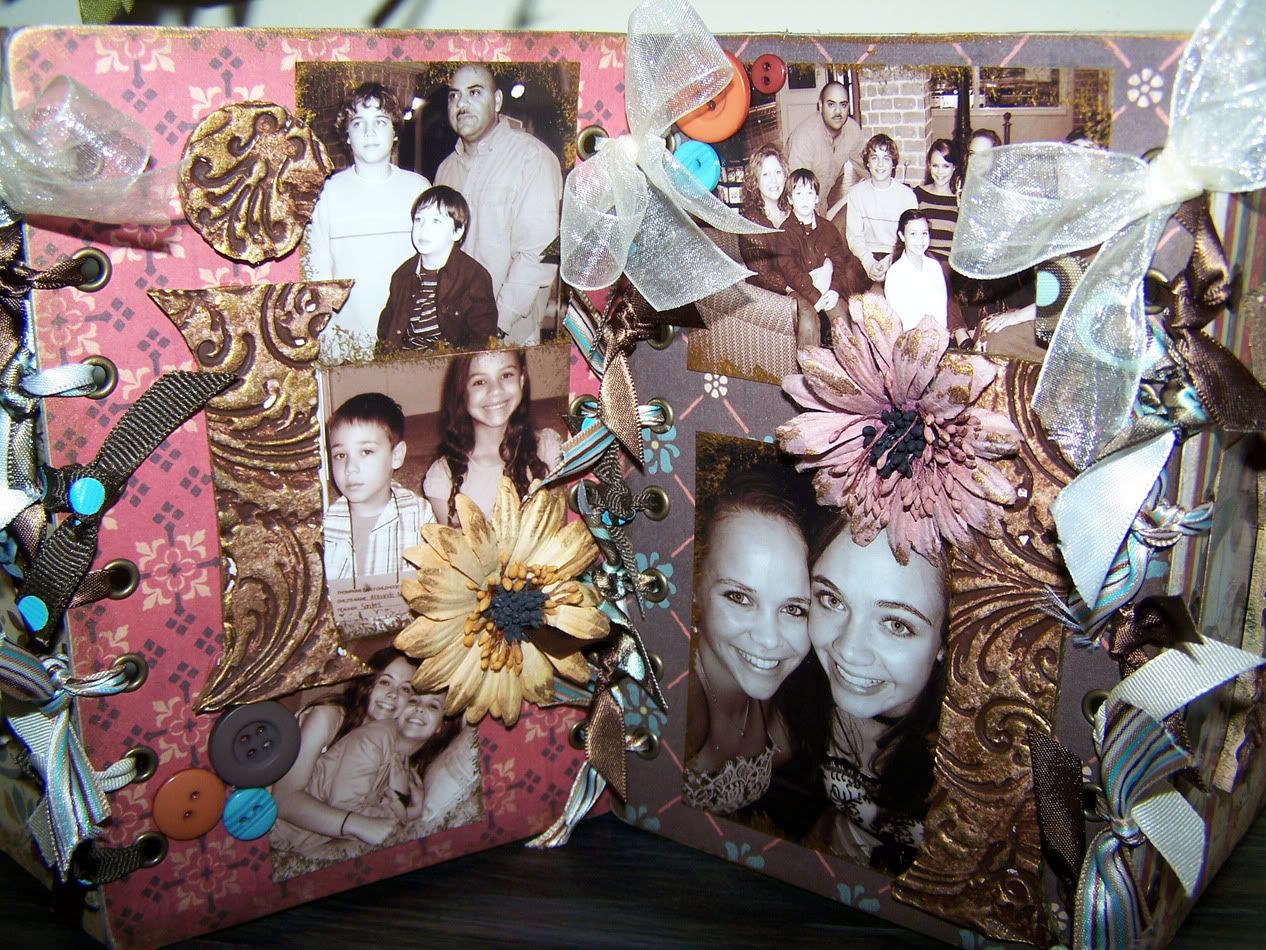 Back to the compound. I wanted a good chunky letter, so I pulled out my cricut and cut 5" letters using the Alphalicious cartridge set to chunky shadow. All the letters save the F are lowercase and cut from scrap cardstock. Here's a good use for that paper you can't remember what the heck you were thinking when you bought. I lay out the letters on the compound until I have them so that I can get all of them cut out of the piece. I use a craft knife with a fresh blade on a glass mat and cut around each letter. This stuff cuts like slightly soft butter.
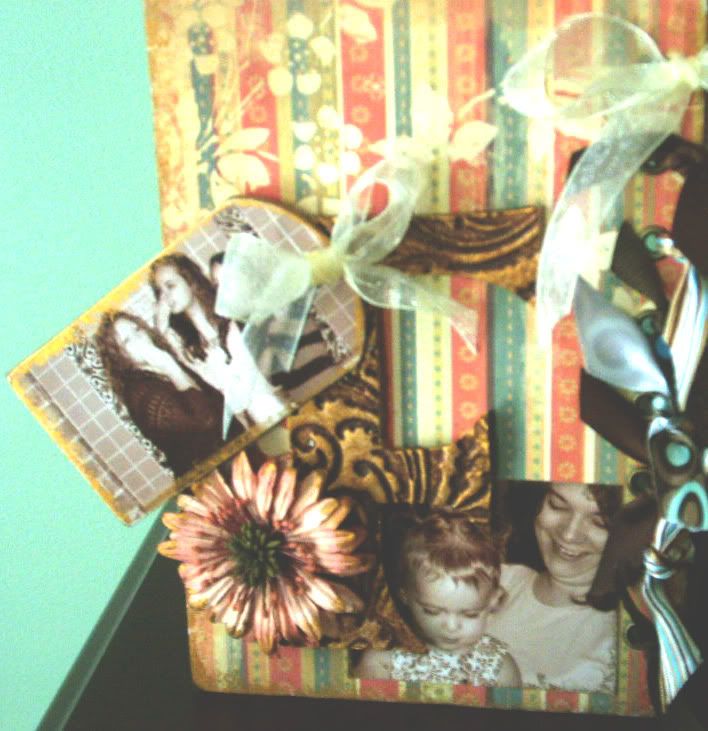 Time to paint. The tooled leather look is achieved by layers of paint. I base coat in a nice cream, then apply a dark antiquing medium. I use Folk Art's antiquing medium in the darkest I can find. I want a rich look. While the antiquing medium is still wet, I use a paper towel and start wiping and dabbing it off. Once I get a nice look on all the letters, I immediately follow with the same gold metallic paint I used on the edges of the cards & photos. I use one a chunk of kitchen sponge. The ones with the big open pores that come like 6 to a package for little of nothing. I cut them into quarters and use them for all my painting on this project. I do a lot dry-ish sponging (dabbing mostly) with the gold onto the letters, then follow along behind dabbing with a paper towel. Just keep at it until you're happy. You might want to try on a scrap piece of the dry Model Magic first if just winging it is intimidating.
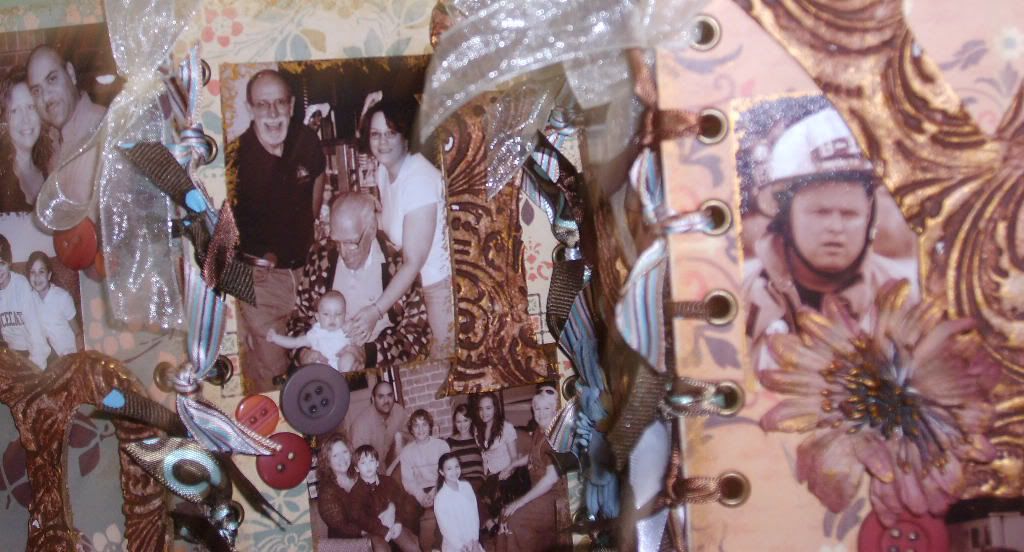
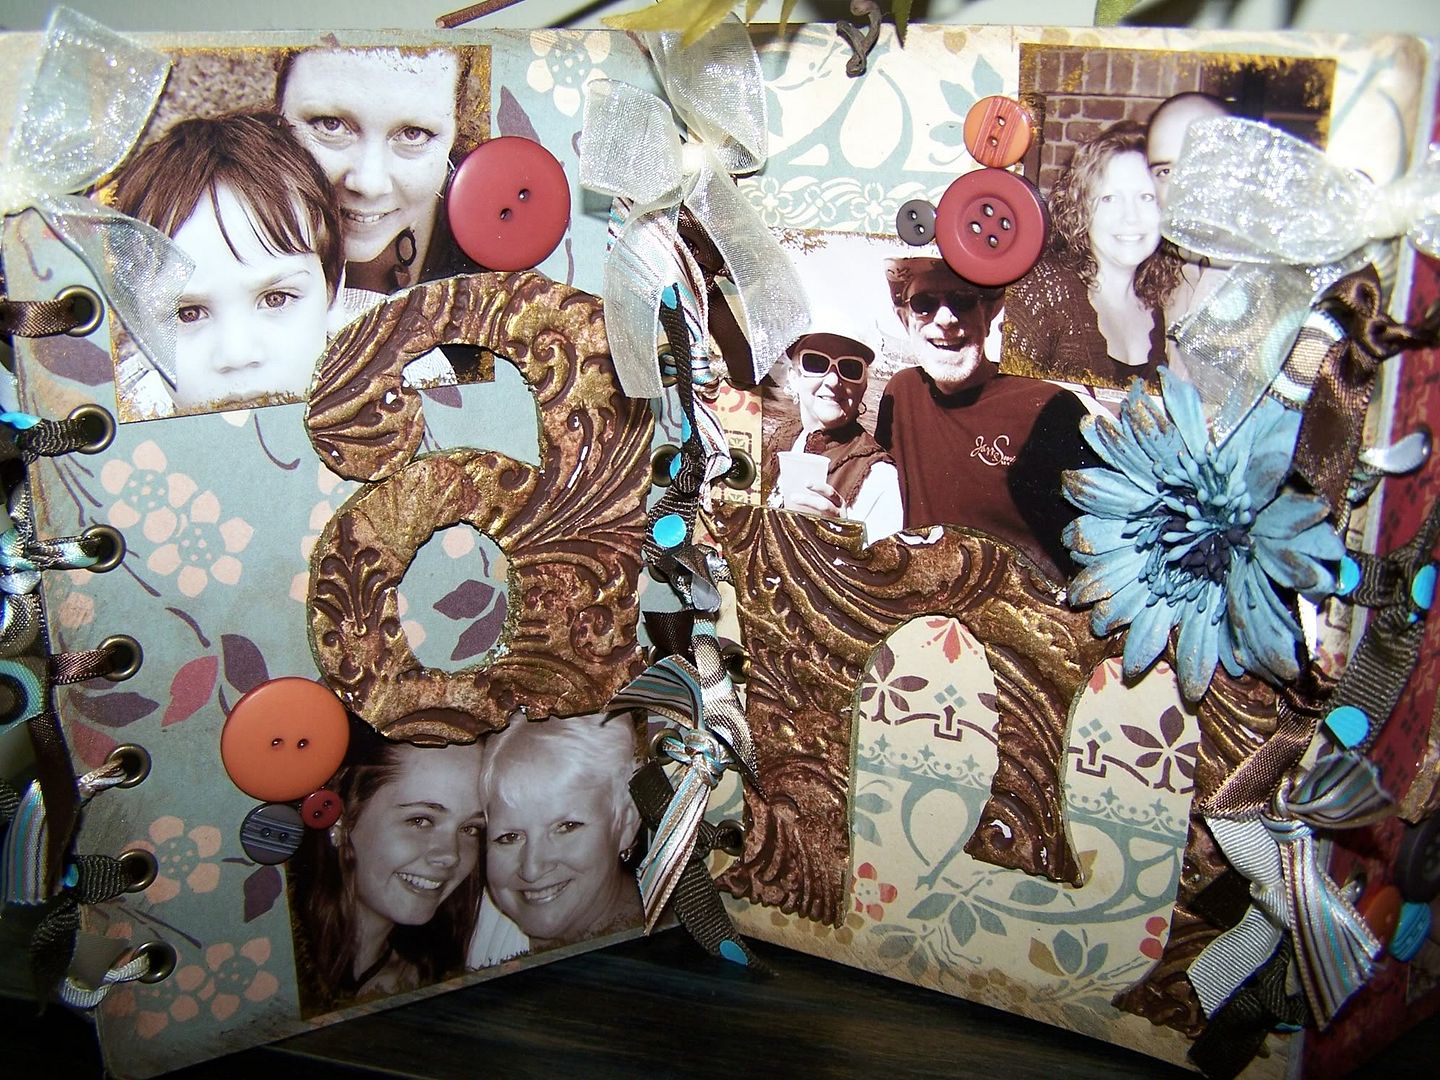 At this point, it's all assembly. I layer, move, tweak, move some more until I have my photos and letters where I think they look best, then I glue it all down. From there I go back with embellishments. Flowers, rubons, buttons. After everything is embellish, THEN I go about lacing everything up. I just tie my way up the cards with a basic knot and then do up a bow in the top hole. A bit of tweaking to get it all standing just so and you're done. Most of the close ups I've shown are courtesy of my sister, who does better close work, but forgot to take a picture of the Y card at the end.
 The stamp I used for my letters is the two giant swirls from the Fancy Pants Designs Pollen Dust set. The flowers are from Prima. The buttons are from Basic Grey, I think. One of their first button releases. The ribbon is Ribbon FX from Hobby Lobby. The lacing cards and Gretel paper are from Cosmo Cricket. Crayola Model Magic can be found at Wal-Mart and Target as well as Hobby Lobby and Michael's. It comes in a variety of colors, but I tend to stick with white as I'm going to paint it anyway.
As a side note, the trick to doing great photo gifts for your family and surprising them is to tell your sister that you're doing something awesome for your mom and can she send over her favorite photos of her family and then tell your mom that you're doing a great project for your sis and can she send some photos. Works like a charm!
1 comment:
TFS! I love the idea of using the crayola model magic...fabulous letters!
Post a Comment