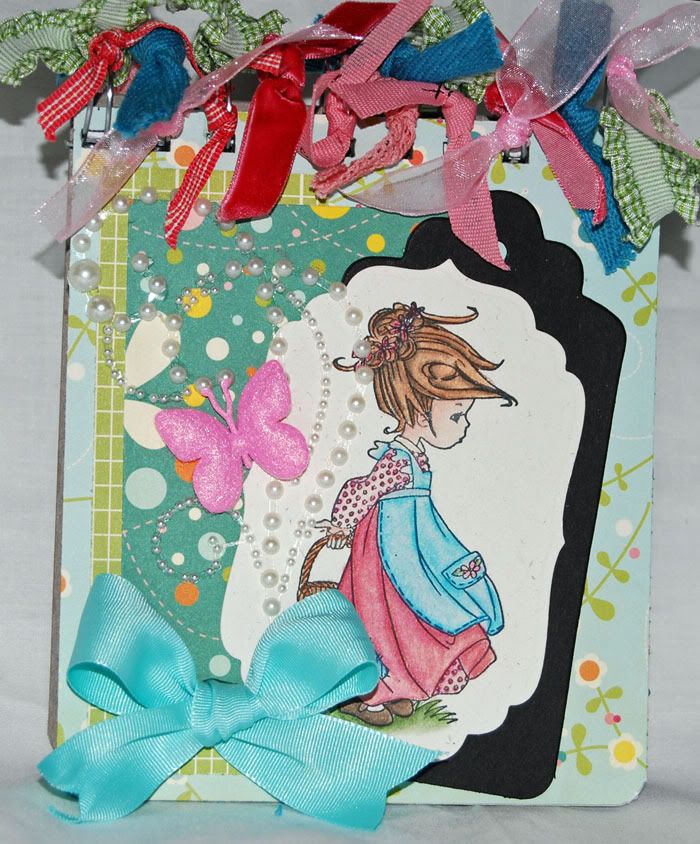
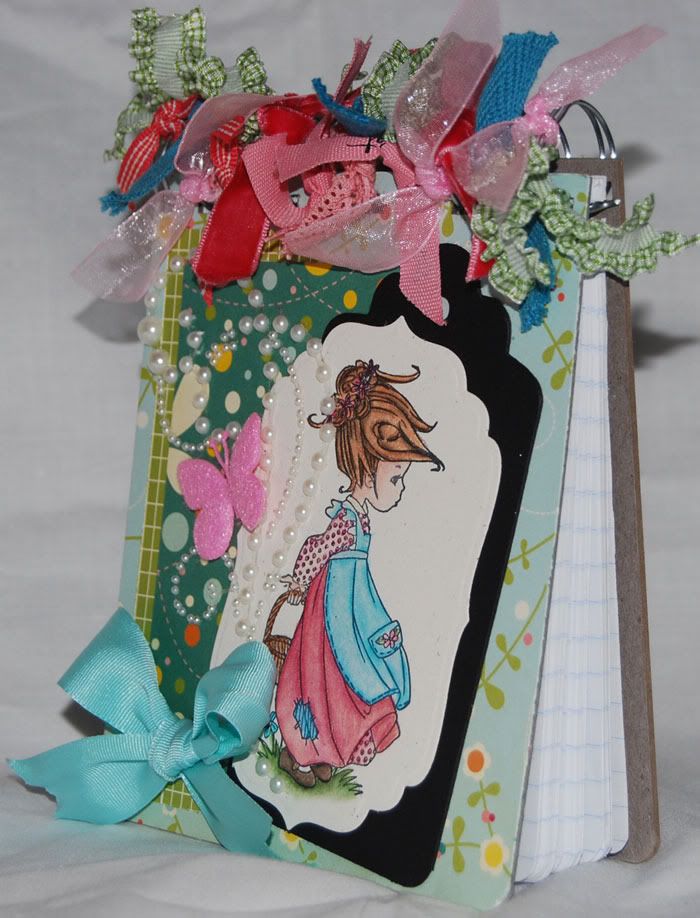
 In the past, I would just buy a notebook of the size I needed dress it up. This time, I decided to go out on a limb and make one from scratch. I have a Bind-It All that I got for Christmas that I hadn't used yet, so I figured it was high time to put it to use. I picked up a junior legal pad and proceeded to take my heavy duty Tonic Studios craft knife and cut it down to 4 1/2 x 5. This takes a bit of muscle and a lot of patience to keep the edges straight. Once I get the pages and back cover cut down, I run it all through the Bind-it All. I have decided that this handy dandy piece of hardware is one of my new best friends.
I divided my pages up into sections and fed them through the Bind-It All. I used a single sheet, folded in half as my initial centering point and set the guide on the side so that all my holes would line up. After I did the pages, I did the back cover. I used the thick chipboard back off the notepad. I figured it would hold up well to the wear and tear the notepad was going to get from being chunked into my purse. After the base and the pages were punched, I decided the bottom corners needed to be rounded for a more finished look. I pulled out my other new very best friend, the Crop-A-Dile Corner Chomper. This little beauty rounded the corners of the super thick base chipboard without even flinching.
 Because I wanted durability for the cover as well as the base, I knew just covering chipboard would not give me the results I wanted. After some thought, I pulled out a sheet of grungeboard. Now there are lots of wonderful things you can do with Grungeboard, but I didn't do any of them. Instead, I used it as a base for my cover. I wallpapered over it with Cosmo Cricket's Girl Friday papers. I used a dry glue to preserve the flexibility the grungeboard was bringing to the cover. I like Kokuyo Dot'n'Roller permanent. It stands up to all sorts of abuse. I regularly use it on altered projects and have never had anything glued together with it, come apart. Just make sure you get adhesive out on the very edge of your paper.
 While I liked the look of just the Cosmo Cricket papers on the front, I wanted it to be a bit more...girly. I added one of my favorite stamp images from Sugar Nellie, Windswept by Elisabeth Bell. She's done on PTI Rustic Vanilla. I love how vibrant she came out. She was sitting in a pile of images I had colored a couple of weeks ago and just happened to match the colors in Girl Friday. I trimmed her out with Labels 3 Nestie and mounted her on a black tag I had in my stash.
It still wasn't quite girly enough for me. I dug out my stash of Prima Say it with Crystals (and pearls!) swirls. They didn't fit like I wanted, so I took a pair of scissors to the pearls. I trimmed off the bottom of the swirl and relocated some of the strings of small pearls until everything fit like I wanted. I finished off the front with a new Creative Cafe felt butterfly and a bow I found when I was digging for the pearls. I love unexpected finds and my craft area is loaded with them!
I punched the cover and after some muttering at the micro size of the photos in my Bind-it All instruction manual, managed to get it all bound. The rings are "quite" round, but round enough that the cover moves freely. A bit of ribbon tied along the top adds a bit more girly fluff and pulls it all together.
 I've pretty much covered the supplies list through the post, but here's a quick recap. The paper is Girl Friday from Cosmo Cricket, the stamp is from Sugar Nellie, the cover is Tim Holtz Grungeboard. Tools used are the Bind-it All, We R Memory Keepers Corner Chomper, Spellbinders Nestibilities and Tonic Studios craft knife. Ribbon and tag are from my stash, while the pearl swirl is Prima. No buttons this time, but the butterfly is Creative Cafe.
2 comments:
This is gorgeous! I love the pearlies. And of course your coloring is awesome!
Omg this is so darn cute.........
Hugs
Lana x
Post a Comment