Apr 29, 2009

Meet Wendy...in Color

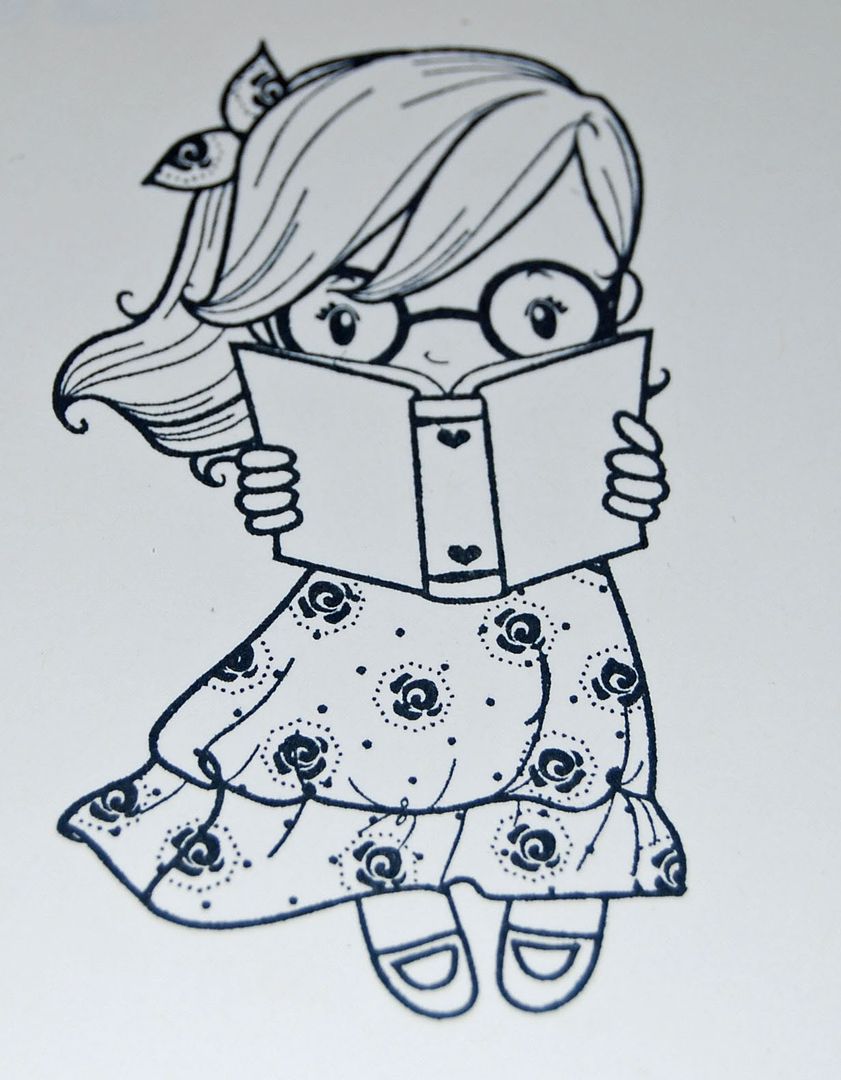
I believe I have mentioned that I do special requests. Typically, these are only for a certain 3 year old with her father's eyes. Sometimes, they're for her father, but only because he doesn't ask as often. Today, however, this one is for those of you who have asked for before & afters on my coloring. As I have also mentioned, I doubted that simple before and after images were going to satisfy what you're actually looking for when you requested the pictures. If I were to do a simple before and after, I think you'll agree that it's not terribly instructive.

before -
Wendy - The Greeting Farm - before
after -
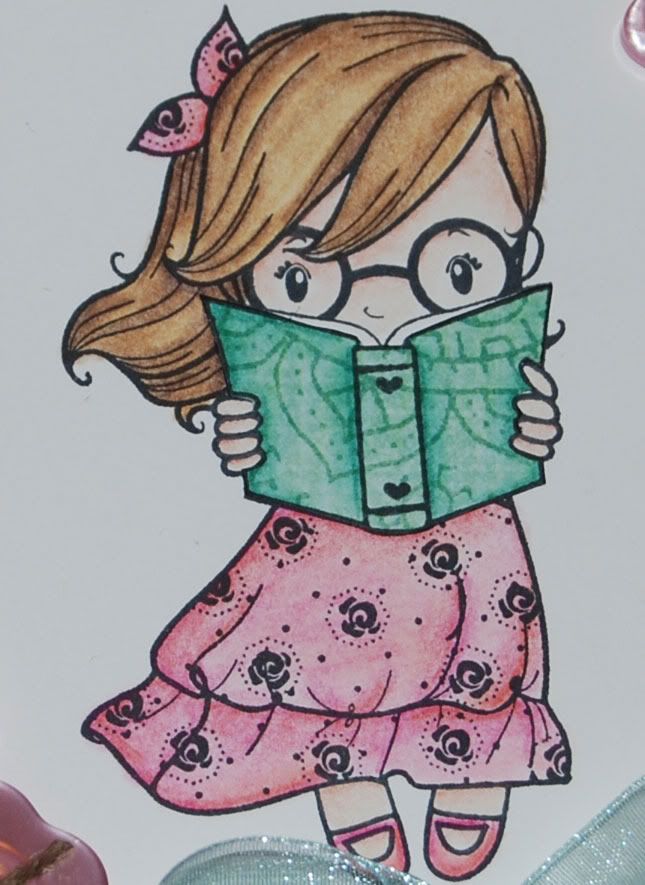
Wendy - The Greeting Farm - after

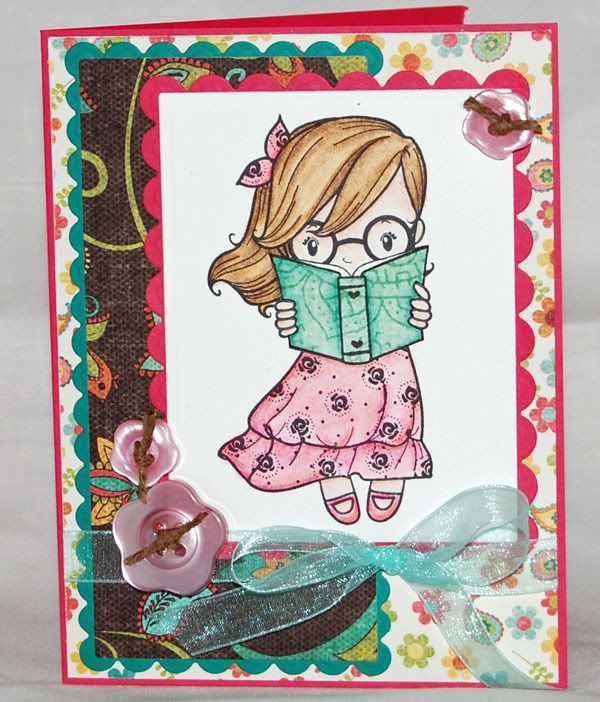
Meet Wendy from The Greeting Farm. She's part of the Never Ever set. I bought the set just for her after a couple of months of patient waiting. I fell in love with her the instant I saw her in a sneak peek on the Greeting Farm blog. There are very few things I love more than paper crafting. Reading is one of those things. I've been an avid book worm since the day that I saw Spot run. Throughout my life, I've read more books than I can possibly count, often three or four at any given time. Lately, I haven't read much beyond Robert Lopshire's "Put Me in the Zoo". That book was a childhood favorite and while I do enjoy reading it to my 3 year old, I do miss books with fewer pictures and more words. I do still carve out time as I can to read, but I don't get to read like I did before she arrived. Still, this image is very evocative of my childhood.

A couple of disclaimers before I dive into the actual tutorial part of the post. Wendy - The Greeting Farm - workboardFirst, I work off of an 8x10 piece of gessoed art board I picked up at Hobby Lobby with a binder clip to attach my work to the board. It's small and very portable, but not too small that it makes my hands hurt when I'm trying to work. On the down side, it means that most of the time when I was shooting pictures between steps, it was at an odd angle on my knees. This left the bottom edges of my photos a bit blurry. Not blurry enough to affect the overall image, but blurry all the same. Second, in order to keep this post from stretching all the way to Texas, I've scaled down the images. The images are available at large size (often 750 pixels wide), you just need to click on them for the extreme closeups. And finally, I did get a bit distracted a couple of times, so if I seem to jump ahead without a picture, it's because I forgot to stop and take one.
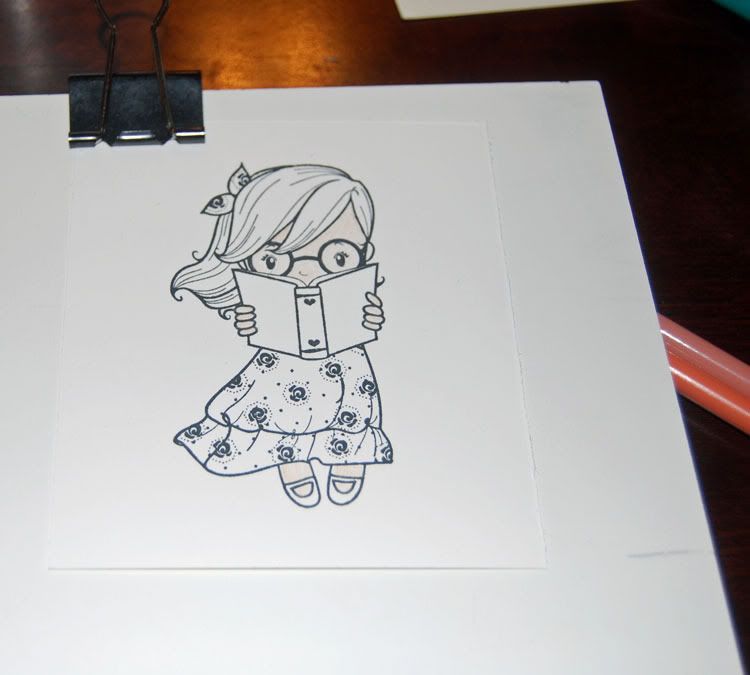
Getting started...I use Gina K's Pure Luxury Baseweight for pretty much everything I color. I've done a little experimenting with craft, but I'm not pleased with the results at this point. That's another post. I used white for this project. In general, when I get new images, or run low on things I want to work on, I take a morning and stamp a couple of sheets with images. I trim them down, leaving enough room for nesties work at a later date. These all go into a pile, so I can snag one and color without having to stop between images. I use Memento ink for anything that I'm going to color. In this case, Tuxedo Black.

Wendy - The Greeting Farm - face 1While I generally do all my base colors at one time, I do make an exception for skin. I have a bad habit of pulling in outside colors when I go to blend my skin areas, so now I make a point to do those first. I'm still experimenting with color tones for faces. Up to this point, I've been pretty much specializing in pasty white girls. As part of my birthday present, my DH got me the 12 new primsacolors, bringing my set to the full 132 available. In those colors were two that I'm already loving for faces. Here I've started by coloring out all the skin areas in 1093 Seashell Pink.

Wendy - The Greeting Farm - face 2
Once that's blended smooth, I sketch in my shading color. Here I'm using PC1092 - Nectar. Notice I'm not making any effort to be exact about where I put the color. It's in the general area I expect to see shadows on a face. As she's reading, most of the light would be on the pages of the book, so I decided that the light was over her left shoulder. I put my shadows along where her hair is overlapping her face and off to her right. I did not shade along the top of the book, as the light would be bouncing off the pages of her book onto her face.

Wendy - The Greeting Farm - face 3For the most part, I don't use tortillions. They're small and not very comfortable to use. I do make an exception for skin. Most of my "skin" areas tend to be quite small and I've found that the extreme tip on the tortillion is excellent for blending in my shading in those areas. I rarely clean/sand these as that's pretty much all I use them for.

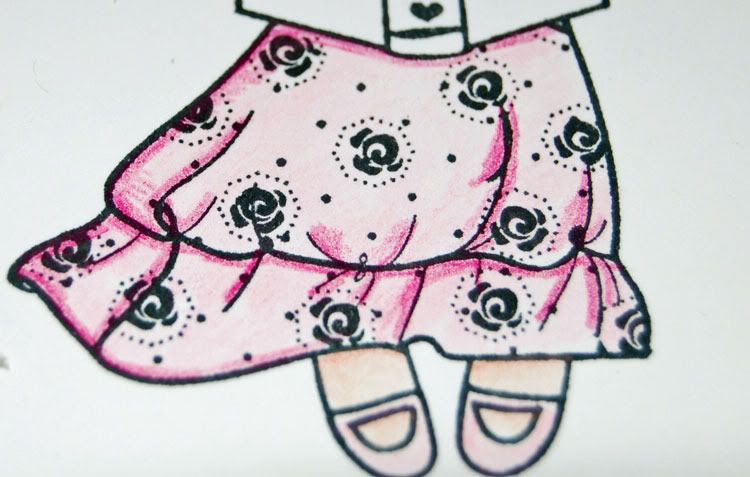
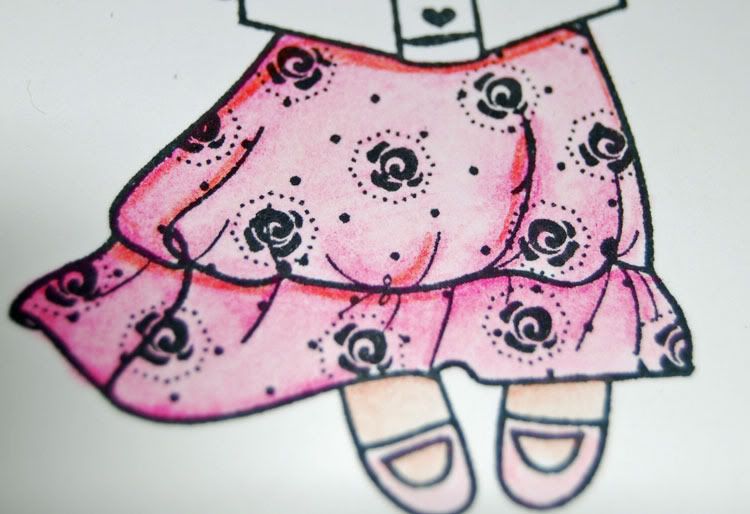
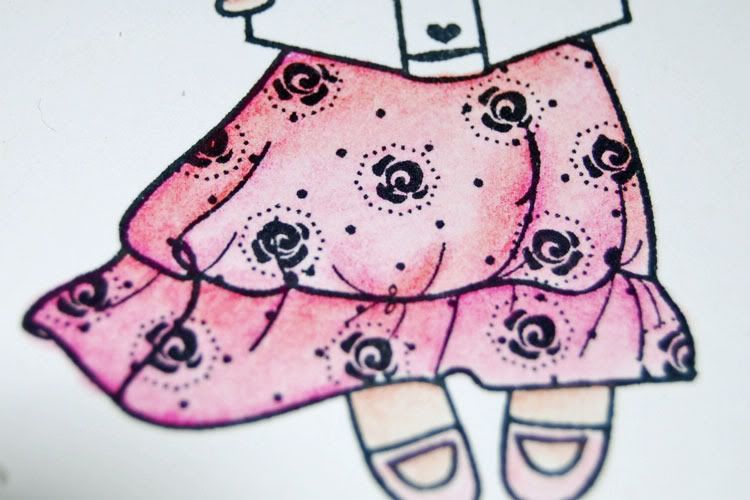
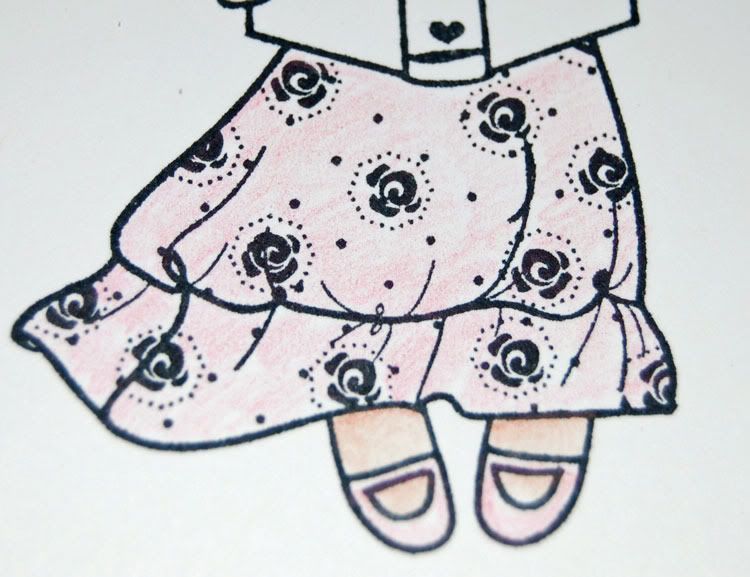
With her face done, I go back and add in all my base color. I really don't have a specific direction from here. On this image, I chose to work on her dress before her hair. I started with PC929 Pink as my base color. That is blended smooth and then I added PC930 Magenta for my shading. Again, I kept my light over on Wendy's left, so I didn't shade along that side of the dress. Once that was blended in, I found the dress to be a bit too pink for my taste and some of the shading wasn't quite as intense as I liked. I don't have a picture here as I was trying to decide if I wanted to pull in more of the magenta or not. I opted to add in PC923 Scarlet Lake to tone down the pink. Notice that I didn't put it everwhere. The red is a pretty intense color and I just wanted to tone down the color and darken some of the shadow areas.
Wendy - The Greeting Farm - Wendy - The Greeting Farm - Wendy - The Greeting Farm - Wendy - The Greeting Farm -

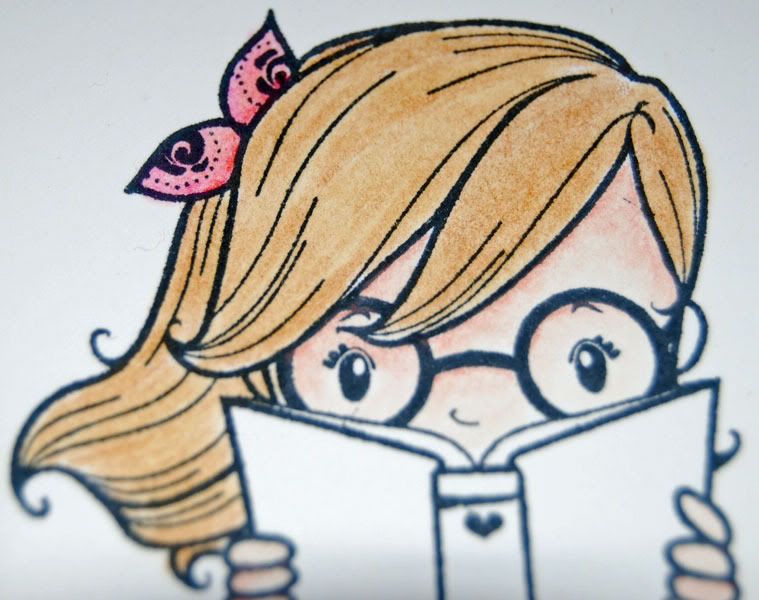
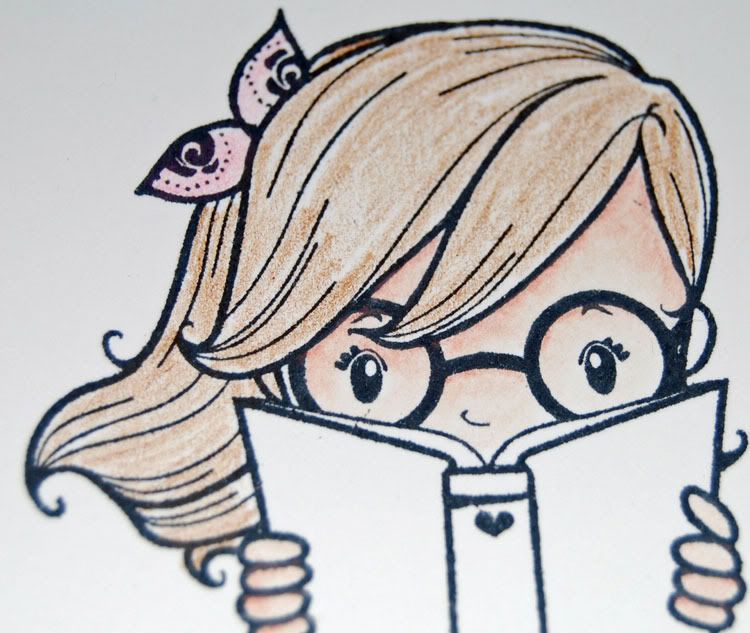
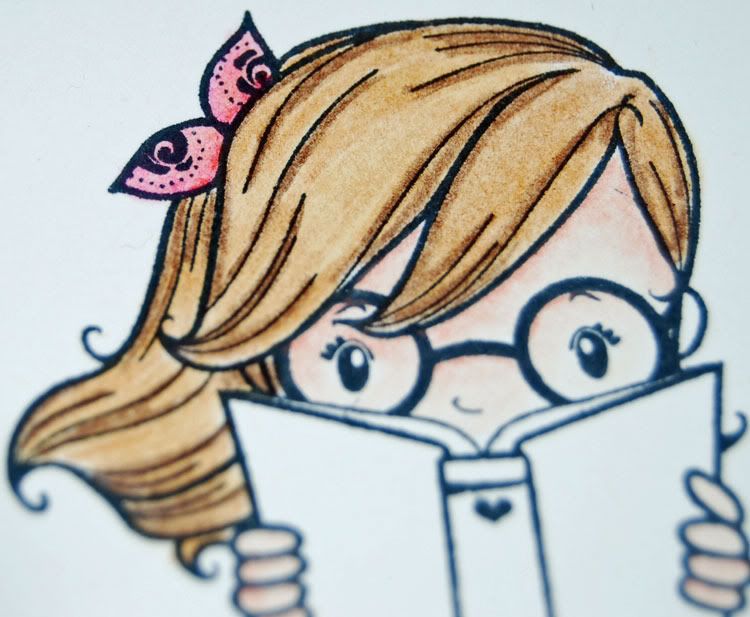
Next up is hair. One thing I really love about The Greeting Farm images is how the hair is drawn. I can easily see where I want highlights and low lights. When I do my base coloring on hair, I don't try to get my color even. I intentionally end up with areas that are lighter and others that are darker. What's more, I don't try to even out the color when I blend. I just smooth out the lines some. I don't blend hair to completely smooth. I like the textural appearance that leaves in the long run. My base coat here is PC1082 Chocolate.
Wendy - The Greeting Farm - Wendy - The Greeting Farm -

After blending the base color, I go back and add in mid tones. I pretty much followed the stamp lines on this image, adding color along those lines or into areas between the lines that I felt would give her the most natural looking hair. Now here's the most important part...do not blend this into the whole head. Just blend very lightly so that the harsh lines of color smooth out. If I had blended the color completely, I would just end up with a darker head of hair all over. You'll have some lighter areas, but they would be fairly small. Her hair looks pretty good here and I could easily have stopped, but I felt it was missing some shading.
Wendy - The Greeting Farm - Wendy - The Greeting Farm -

I went in with PC947 Dark Umber in just the areas where I wanted shading. Where hair overlaps hair and where book overlaps hair, once again blending very judiciously. I don't want the shading to be obvious, I just want it to give the hair added depth. In the end, I'm pretty happy with a rich brown tone. I find doing this tone is the easiest for me, so you'll see it a bunch in my images.

Wendy - The Greeting Farm - Wendy - The Greeting Farm -

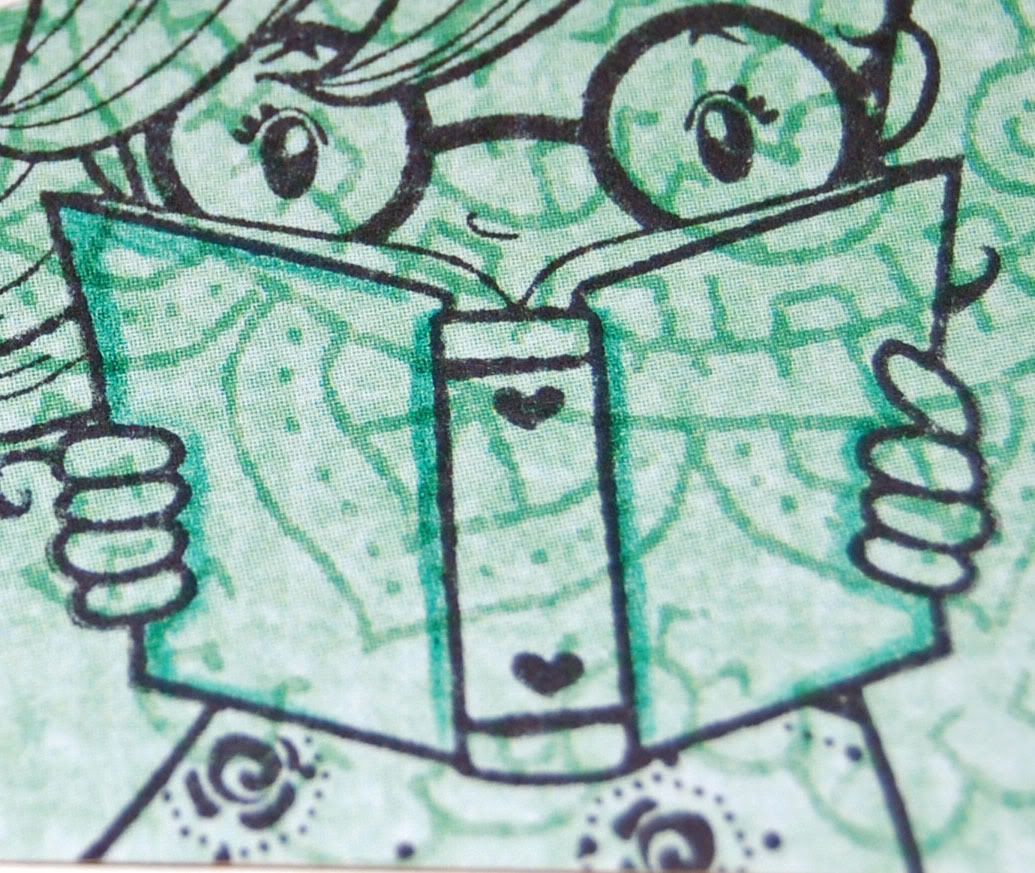
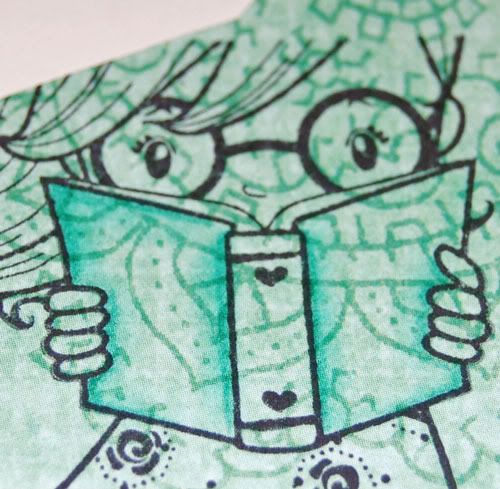
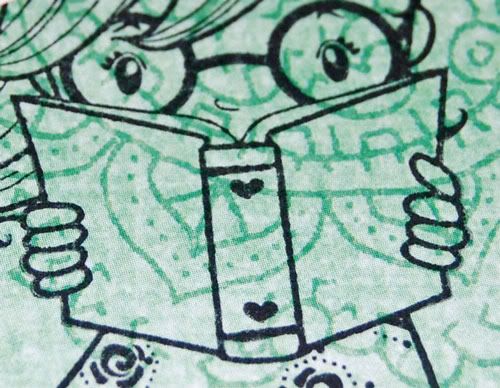
I decided before I ever started coloring that I really wanted to paper piece the book jacket. I could have colored it and been happy with it, but I had some great patterns in the My Mind's Eye Bloom & Grow Grow papers. The back side of one of the more vibrant prints was a very nice tone on tone paisley that I knew would work great. Just because you paper piece instead of plain coloring doesn't mean you can't (or shouldn't) add some shading to the paper piecing. I added shading along the spine, around her fingers and on the edges of the shadow side of her book in PC905 Aquamarine. I blended with a very light hand as the paper wanted to suck the Zest-It right out of my stump. If you're going to color/blend on a paper piece, test a small area that you're not going to use to see how your blending fluid of choice reacts. I sampled both baby oil and Zest-it. The baby oil wanted to stain if I wasn't very careful.
Wendy - The Greeting Farm - Wendy - The Greeting Farm - Wendy - The Greeting Farm -

PhotobucketI trimmed out the paper piecing, ran a black pen around the edges to keep them from showing and then glued it in place. I made sure to just trim the book cover so that my pages would stay white. I'm pretty happy overall with how she turned out. I would have been happier if I had been able to find my Diamond Glaze so I could have added a bit for lenses on her glasses. I used some of my new nestabilities to make up the card. The paper is from the Bloom side of the My Mind's Eye Bloom & Grow line, which coordinates perfectly with the paper piecing even though I used the other half of the line for that. I do love My Mind's Eye! The cardstock is Prism, the ribbon is Ribbon FX from Hobby Lobby and the flower buttons are Creative Cafe.

I hope you enjoyed the tutorial!
Apr 24, 2009

Dustin Rides Again

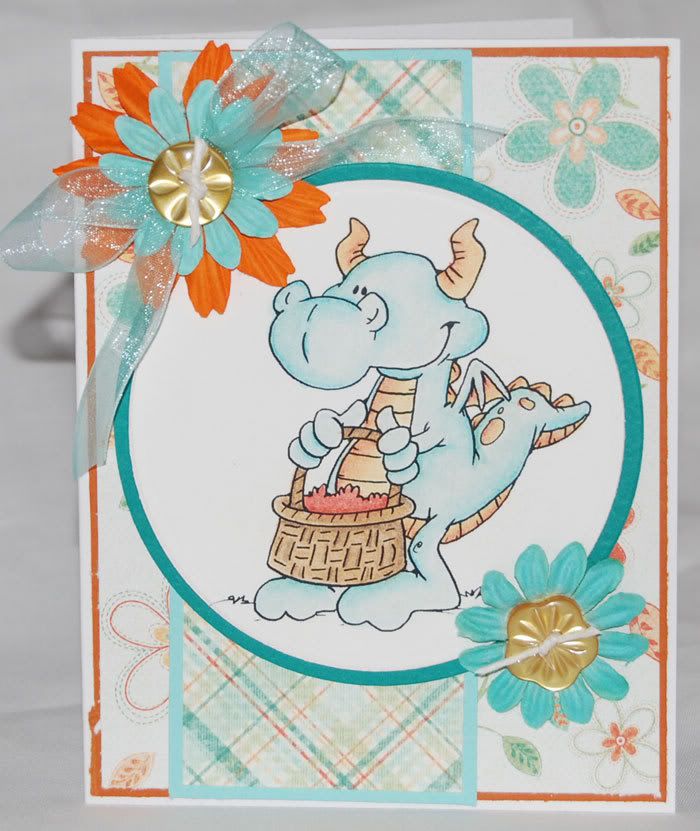
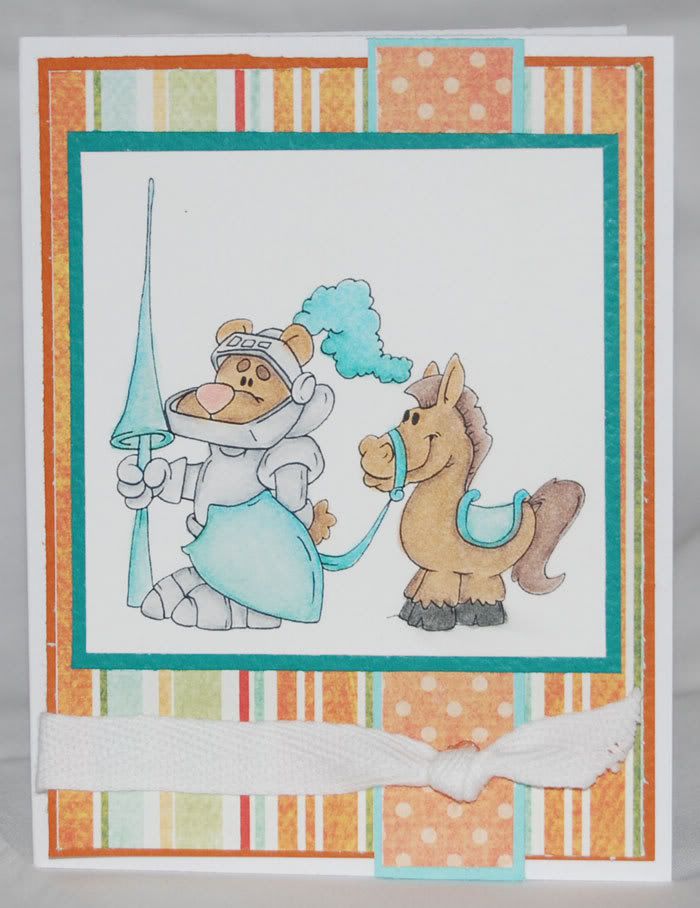
Last month I devoted an entire post to raving about Dustin Pike and his awesome graphics. In the time that has passed since that post, he has continued to offer up great freebies (check his blog on Wednesdays!) and has created an Etsy store stocked full of great images. He's even put out a call for a design team (yeah, I'm totally applying!). He continues to provide great dragons on a regular basis along with other wonderful characters. I had a group of them printed off and tucked into my stash of images to color and the MME Grow colors just seemed to suit them perfectly! Once again, Dustin just rocks.

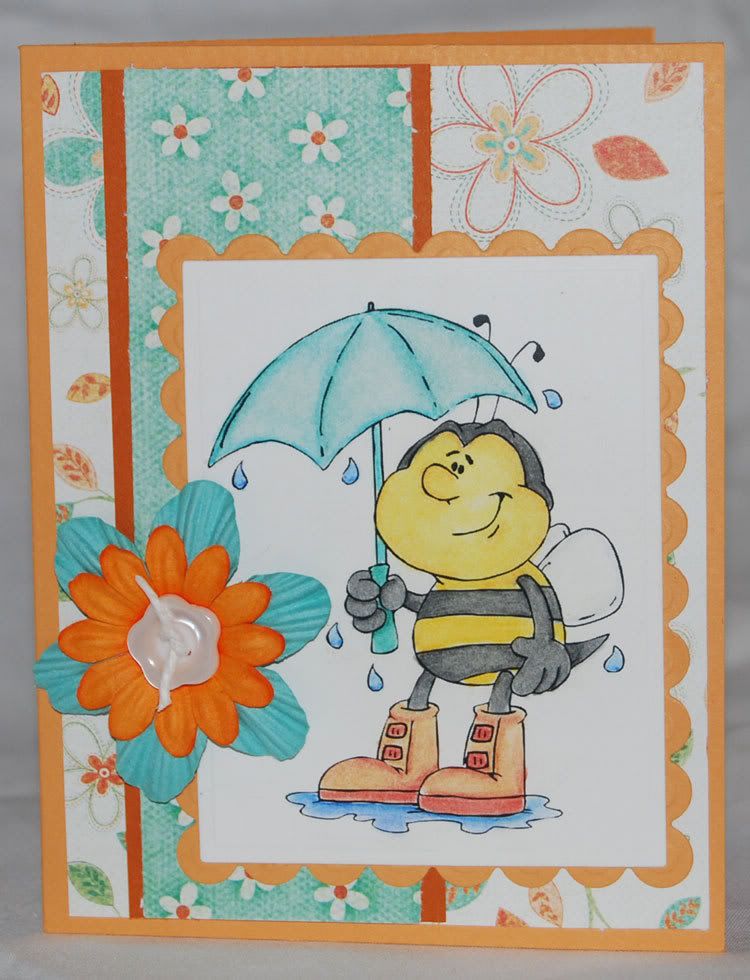
Of all the cards I made up, this one is my favorite. This little bee is just waiting for the April Showers to abate so the May flowers will bloom. I pulled out my new classic rectangles nesties for this one. I love how the scallops perfectly frame out the image. You can't see it so much on the picture, but the white rectangle is also embossed. It looks great in person though. I have a stash of flower shaped buttons from a recent raid on the Creative Cafe at my local scrap store. The white one just fit so perfectly for this card. I waffled on the umbrella color and after I had the card made up, I wished I'd gone back in and done the canopy in orange instead of blue. Still, I love how it all turned out.Waiting for May Flowers

Missing YouOn this card, I wasn't sold on this dragon at first. As much as I love dragons, I just couldn't place what was off for me. I went ahead and printed him out, though. In a conversation with my buddy Becks, she pointed it out to me. His basket it empty! Once the problem was pinpointed, he took on a whole new personality to me. He's a very sweet little guy. He now adorns the front of a great little "Miss You!" card. In his next appearance, he'll be pointed the other direction and featured with the dragon holding a hatched egg from my last Dustin post. I think together, they'll make an excellent long card...perhaps for a baby shower.

I'm short guy cards at the moment, so when Dustin posted his little knight, I knew I needed him. Here's another that I could have tweaked up my colors a bit and added in some of the orange, but I really like how he's all done out in blue. Looking at it when I was writing up this post, I realized that he probably would have popped a bit more if I'd done a dark card base rather than the white. He looks pretty good on the white, but next time I'll probably try him on something else.

I had a lot of fun with shading on the armor. I used the cool greys in my Prismacolor box. I started with 20% and worked that with 50% and 70%. The challenge is deciding where all the shading is going to be while trying to keep it from looking like he's wearing dirty armor. I nearly added some metallic silver, but stopped myself at the last minute. I do think he needs a shield design, though. The blank shield bugged me when I was coloring it up. Knights need a good emblem on their shield like a crest or something to make their opponents think twice about smacking it. Dustin's got a couple of great "manly" dragons in his Etsy shop, so I need to figure out which one is going to be best on my knight and snag that with my next order.A Mighty Knight

A few of you have asked if I would do before and after photos of my coloring/blending. I've done one a few weeks ago when I was starting my experiments with baby oil. It's a bit problematic as when I said in my last post that I'm a lazy artist, it's not entirely true. My style of coloring/blending involves lots of layering of color and blending and shading and a bit more color and perhaps a bit more blending....I can easily do a quick shot of my "before" as I tend to lay down all my base colors before I do any blending. It's the after that I think would probably disappoint. I have a couple of options at this point. I can do a more step-by-step photo shoot. This requires me to remember to stop mid process and take photos. Once I really get going on an image, about the only thing that stops me is a crying boy, demanding food or nap. :) The other is to charge up the Vado HD and do a video tutorial. I need to charge the Vado either way, but I've never done a video tutorial and I'm not sure how it would all work out. As I plan to play more with the Zest-it this weekend, I'll see what I can come up with.

Apr 23, 2009

Grow with me & Zest-It

My parents have gone and my house has returned to it's normal state of slightly cluttered. Slightly cluttered is that zone that involves stepping over a few toys during the day, but not enough has been moved out of place or stacked up to annoy us. We're pretty easily annoyed by clutter, so it's a fine line. We had a good visit with my parents, who managed to sell their house while they were here. They've returned to Alabama, homeless and in search of what they claim will be smaller and low maintenance. Since they've been saying this for the last five house purchases, it remains to be seen.

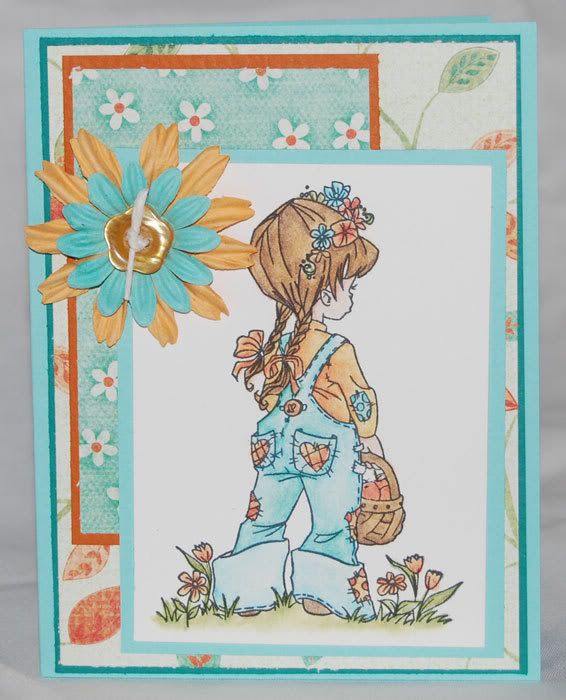
After their departure, I curled up on the sofa with my scor-pal (with mat installed) a stack of uncolored images and a selection of prismacolor pencils suited to match the My Mind's Eye Grow line. Over the remainder of the weekend, I colored 7 images, touched up another and made them and two of the dragons from a previous post up into 9 cards. I still have one image left to finish off and card up. The color combination of aquamarine and pumpkin orange is so bright and fresh. I really loved the versatility I was able to achieve without having to think about what colors I needed. I was able to color, blend, color, blend and when one image was finished, I snagged another from my pile and started all over again. It was the perfect way to relax! I won't inundate you with all 9 (soon to be 10) in one post. I plan on spreading them out to several posts over the next few days.

One of my favorite images from the group (although, not my favorite card) is an Elisabeth Bell image from Funky Kits called Reflective. She's currently out of stock, so I don't have a link for you. She's one of the first I bought from them. I have a picture of my daughter in just that pose, although, without the basket of apples. It's the main reason I bought that stamp.

In my post "They're Here" I talked about OMS and why I chose Baby Oil as my blender of choice. Towards the bottom, I mentioned reading about Zest-It Pencil & Parchment blend. Out of curiosity and a need to empty some funds from a sale of crafty stuff out of paypal, I ordered a bottle.
Reflective from Funky Kits

I ordered the largest I could afford in hopes of getting good longevity out of my purchase. The shipping sucked. Seriously. It always bugs the heck out of me to pay more in shipping than in actual product. 99.9% of the time, that fact alone will kill an order. This is that 0.1%.

Apparently, the high shipping costs included routing the packet on the slow boat to China and then on to Oklahoma as it took 2 weeks to arrive. As I've been power scrubbing my house, top to bottom, I didn't much notice. When it did arrive, it came signature required on a day no one was home. My husband and I spent a couple of hours studying the pick up tag trying to remember what we ordered that would come registered mail. Our only clue was a small note at the top of the tag that said "Shipper: UK". Since I know that the United Kingdom, as a whole, doesn't ship stuff, it became a process of elimination. I'd gotten all the stamps I ordered from Funky Kits, save the one they were shipping out to replace one shipped in error. I rather doubted that they were suddenly going to make me sign for their stamps, so that ruled them out. It finally dawned on me and I scurried off to the post office the next morning before my parents arrived.

As I'd been invaded, I didn't get to open the packet until MUCH later that day. Even then, the bottle remained closed, although my daughter quite enjoyed the layers of bubble wrap. After my parents departed and I'd curled up with my images, the Zest-It came out. I love it. Seriously. This stuff blends like a dream. It was well worth every penny I paid. Like I've told people over on SCS. I have decided that I am a lazy artists. I can draw, but I chose to stamp my images instead. Likewise, I can layer color on color, tone on tone to get great images, but using a blender like Zest-It means I don't have to. For me, that equals great images without a huge time sink, giving me time to whip them up into cards.

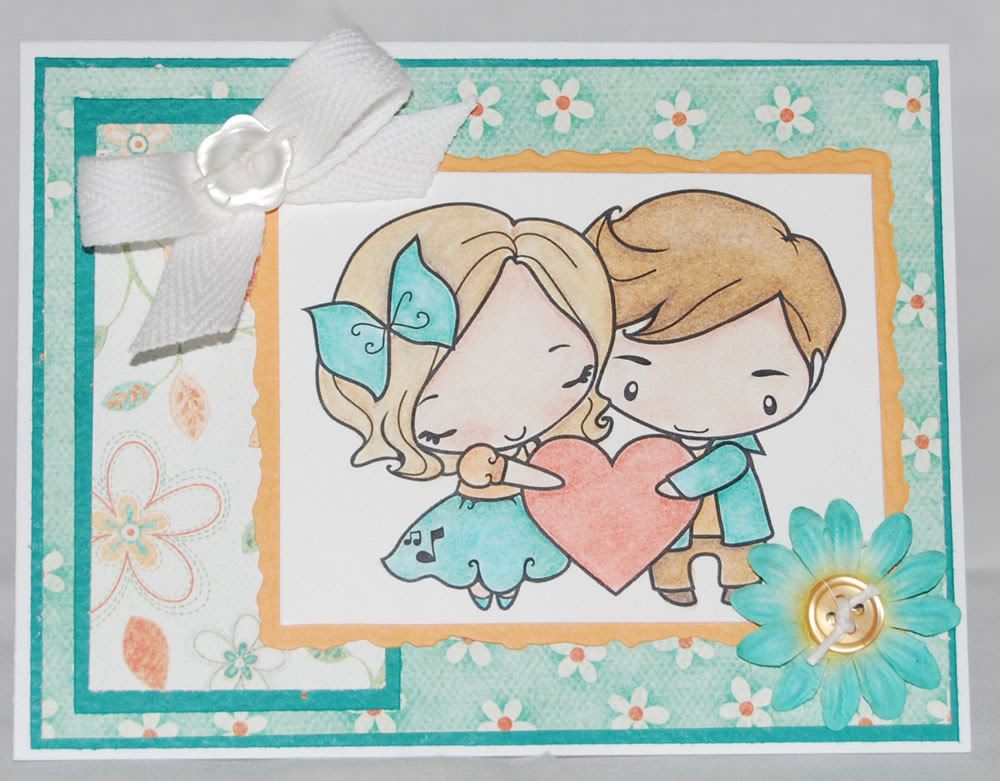
Now, to wrap this post up, I'll finish out with a digital image from The Greeting Farm. I've had this one in my pile for a while. I picked it up as part of my Valentine's spending spree. I don't do blonde hair on my images for a reason. It drives me insane trying to get the right color tone. This image was no different. Her hair is a blend of Ginger Root, Sand and Espresso. It still bugs me, but not enough to keep me from putting it on a card.50s Sweethearts from The Greeting Farm

Apr 15, 2009

Today I Am 40

I'm not old. At least, I don't feel old. I'm not over any hill. I'm not 39 plus a bit, or having anniversaries of past birthdays. I am simply 40.

I have a lot to show for 40 years of living in this world. I have two beautiful amazing children. I have been with my wonderful husband for more than half my life. I've done things that others dream of, like climbing to the top of the Leaning Tower of Pisa with my dad, counting the steps as we went. I've seen The David, but not the Mona Lisa and have been in more castles than I can remember. I saw New Orleans before Katrina and walked through the Alamo. I've gone swimming in an Olympic pool and walked through a concentration camp in Germany. I've seen the Atlantic and Pacific oceans, the Gulf of Mexico and the Mediterranean. I've driven through the Swiss Alps and gone skiing in the Colorado Rockies. And in 40 years, my very favorite place is my very own house in a small town in Oklahoma, where my children run to greet me when I walk in the door from work.

Today I am 40. I am not, nor will I ever be old. I just don't have time for it. I have been many places and seen wonderful things. I still have more to see and do. I probably always will. I'm okay with that.

My husband has seen fit to buy me a frankly obscene amount of Spellbinder's Nestabilities for my birthday. I can't imagine a better way to celebrate such an auspicious event. My parents, however, think they can. They have decided to invade. Which means I have spent the last week scrubbing my house from top to bottom to the haunting echos of being threatened into cleaning my room as a child. I should have known that would come back to haunt me. As this weekend also celebrates the first birthday of my youngest and since I know where I rate on the visitation scale these days, I'll mostly forgive them.

The down side of it all is that although I have new Elisabeth Bell and Mary Hall stamps, with more on their way, they are still tucked away in their original shipping packet. Still unmounted and uninked. Sad and alone. Horrible, isn't it? On Saturday, after my parents wisk away from what I'm sure will be too short and too long of a visit, I shall recuperate by cowering on the sofa with a sheet of stamped images and my prismacolor pencils. Look for lots of eye candy next week.

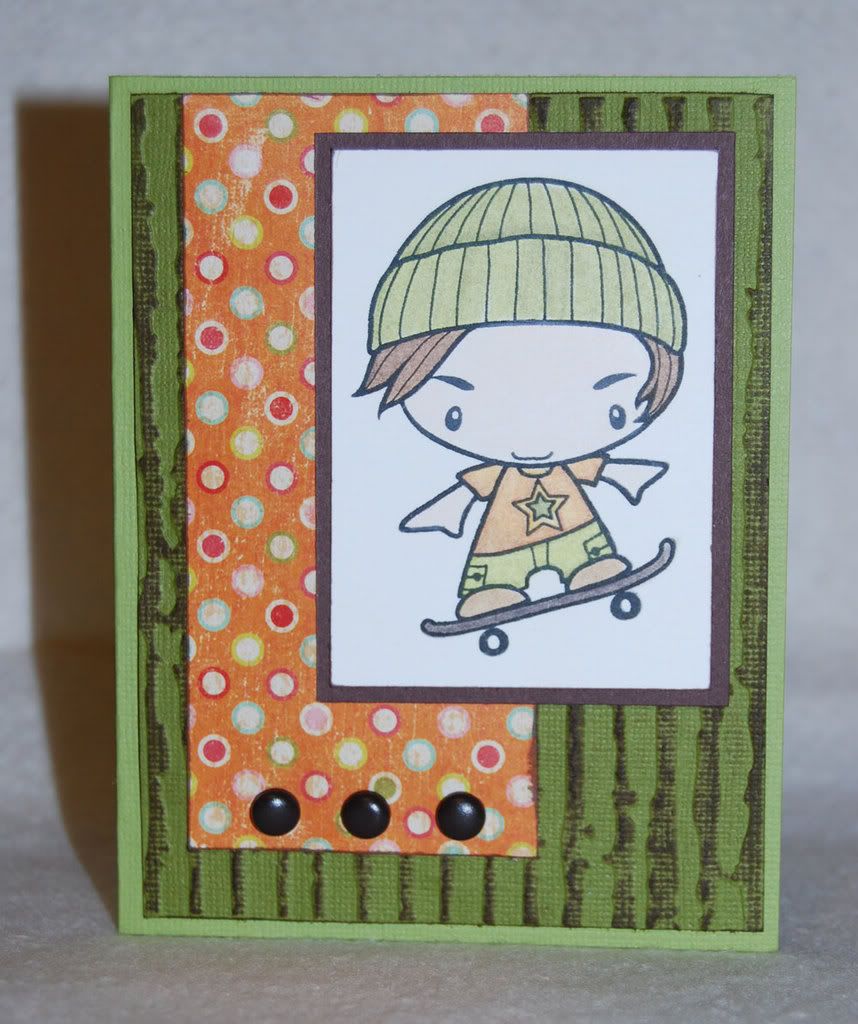
Sk8tr BoiFor this week, I leave you with a card for my son. He'll be one. I honestly doubt he'll care. He might if I let him chew on it. Hmm....

Stamping supplies - $$$
Cake and toys that will soon be forgotten - $$$
Getting to chew on the birthday card - Priceless.

Who knew?

Supplies - Paper by My Minds Eye, Stamp by The Greeting Farm (Skater Ian), Ink by Tsukineko (Memento), Color by Sanford (Prismacolor), embossing by Provo Craft (Cuttlebug embossing folder)

Apr 5, 2009

Taylored Two-fer Plus One in Abbey Road

One of my favorite scrapbook manufacturers is BoBunny. I just adore their papers! It's a rare release that doesn't have me flocking to my scrapbook store to add to my stash. Although, when it comes to BoBunny, it rarely makes it all the way to my stash before it's scrap. Abbey Road is no different. One of the first things I do these days when I bring home new paper is to pull out my Prismacolor chart and start listing coordinating colors. Abbey Road was no different.

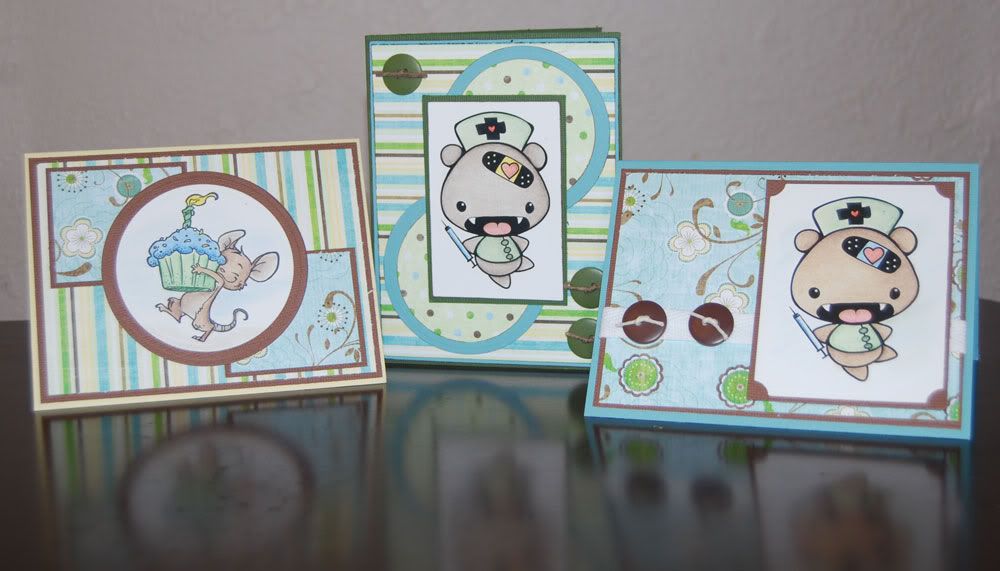
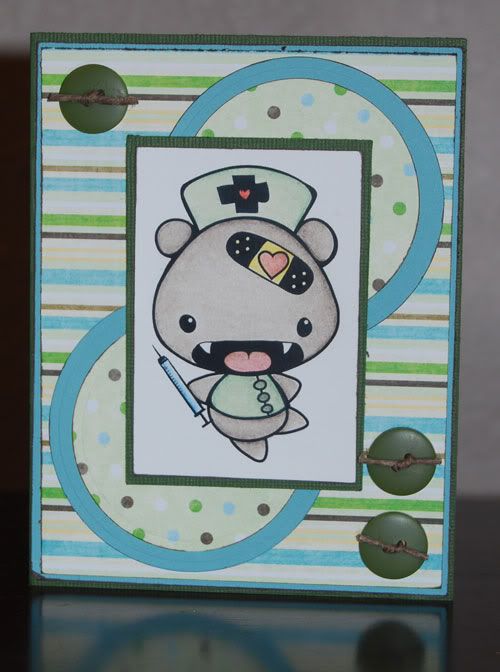
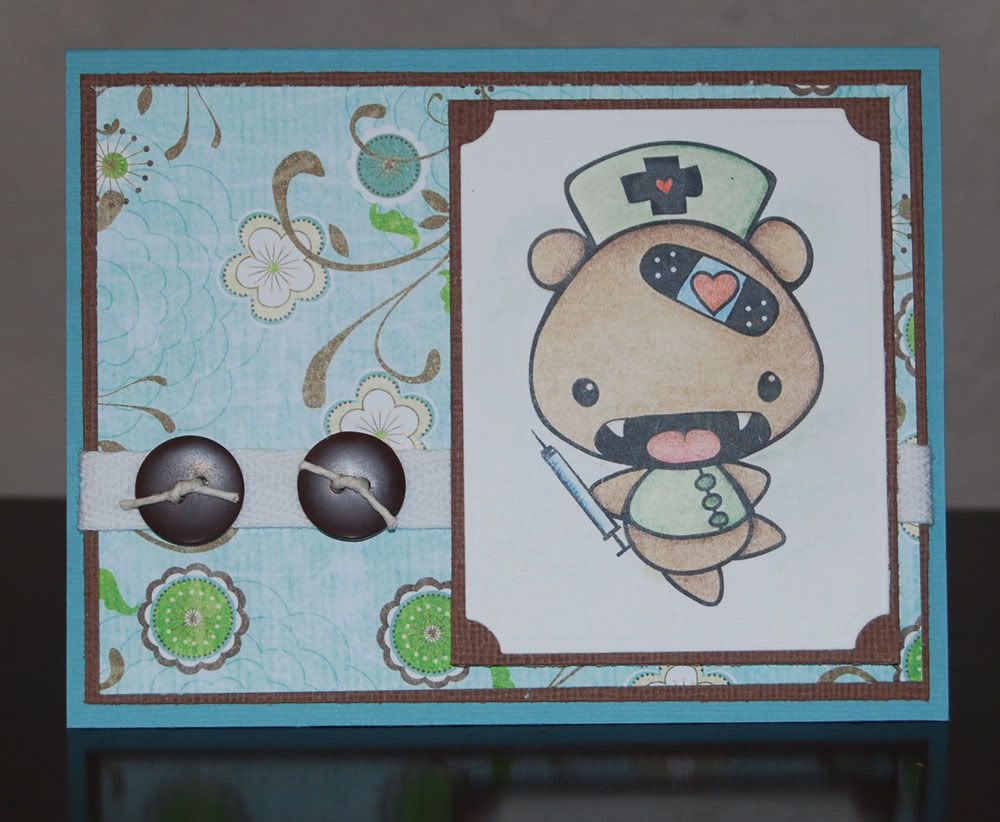
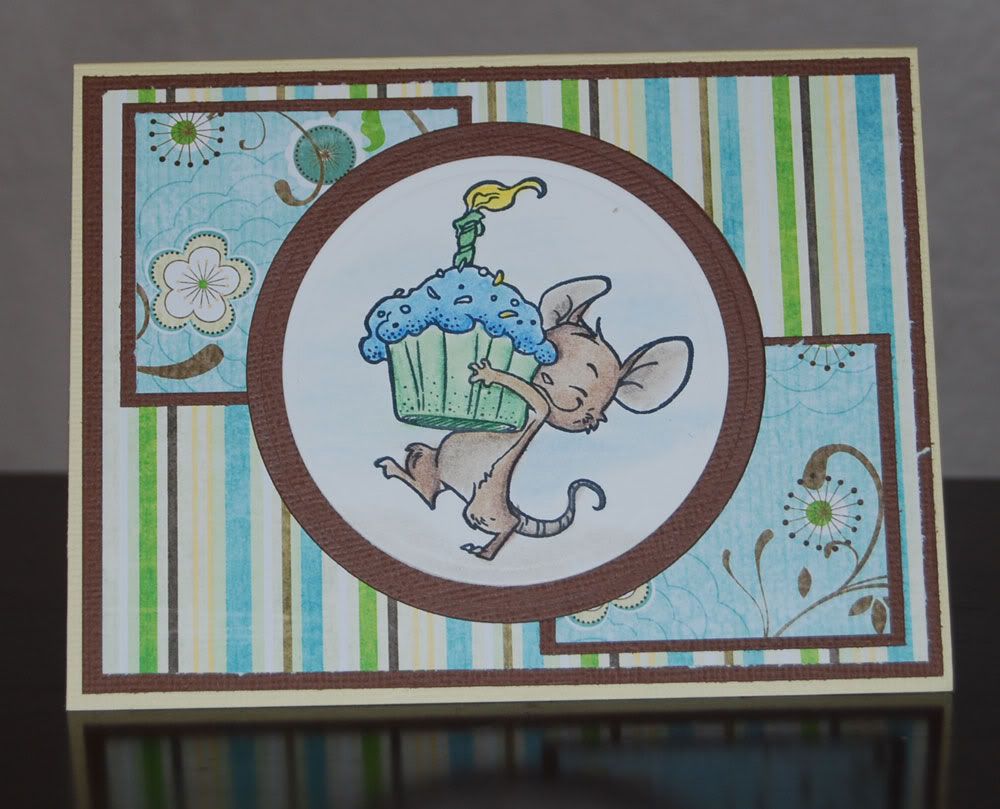
I actually picked up several paper lines, but I needed some masculine color tones and even with its' florals, Abbey Road fit the bill. I pulled out my images and selected some that would fit some cards I needed to make. I went for "Love Bear" a digital image from the House of Mental line at The Greeting Farm and Henry with his cute cupcake from Whiff of Joy. The bear looks a bit mental, doesn't he? I needed a couple of get well cards and he's perfect for my somewhat bent sense of humor. As for Henry, who wouldn't want that cute little mouse on their birthday card?

For card design, I did a standard take on the Taylored Expressions Cupcake Challenge 62 with Henry. It is a cupcake sort of challenge and while you don't have to use a cupcake, he seemed to fit the bill. For my second take on the challenge, I swapped the squares and circles on the design. I really like how it turned out. The last card was put together without a sketch. Sometimes you just have to wing it.

henry & love bear

and individually (click for larger)


PhotobucketPhotobucketPhotobucket


I experimented with a bit of background highlighting/coloring this week. I'm not sure if I like it or not. On one image I did, I got a bit carried away and accidentally pulled color from the image into my highlighting. It blended creating a different tone on that portion of the image. Not at all what I was going for. I'm chalking that image up to learning experience and moving on.

For those interested in the colors coordinating with Abbey Road, I used Sunburst Yellow (PC917), Pale Sage (PC 1089), Apple Green (PC912), Dark Green (PC908) Light Umber (PC941), Dark Umber (PC947) and Mediterranean Blue (PC1022). I shaded out my colors with the French Grey pencils in 90% (PC1076), 70% (PC1074) and 50% (PC1072). They aren't in the matching color palette, but I added a touch of pink (PC902) and Scarlet Lake (PC923) for mouths, noses and hearts.

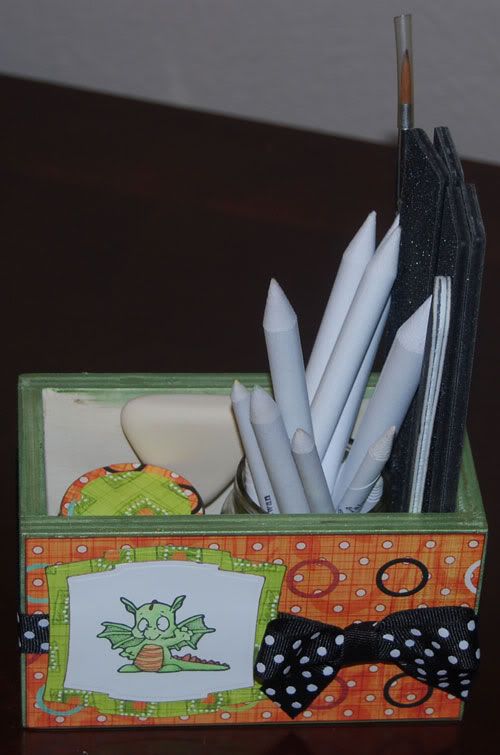
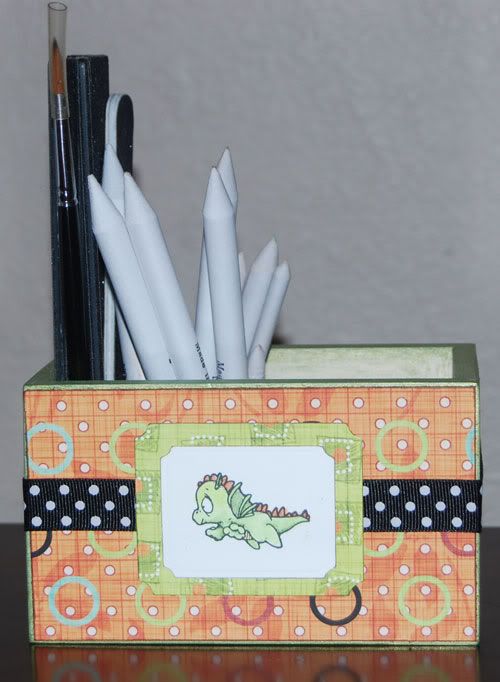
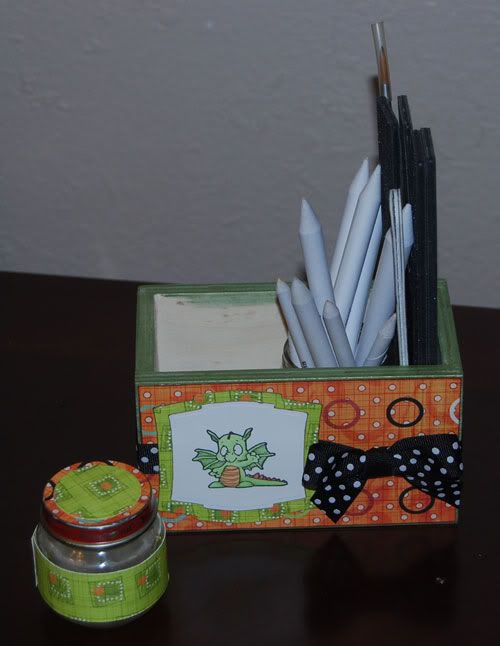
And as a small bonus, my blending box. I altered a wooden box I found in the Hobby Lobby Easter Crafts section. It was one sale 40% so I paid a whopping $1.50 for it. Gotta love that! It's altered with Prima Dude papers, a pair of my cute dragon stamps cut with Nestibilities and tied all together with black & white polka dot ribbon. It's handy to grab, super portable and everything fits neatly inside so it doesn't get lost. Again, click for larger images.

PhotobucketPhotobucketPhotobucket