First off, supplies. Mine are pretty simple and straight forward. I use my Xyron 150 loaded with permanent adhesive, a good quality extra fine glitter (it really does make a difference), in this case Doodlebug, and my letters. The letters are the Cuttin' Up Cricut font cut at 1 3/4". Any guesses as where this title is going? :D It took me a while, but I finally came up with something that really fit those pictures. The letters are loose, but I cut a white welded shadow for them to go on to give them just an extra bit of unity and pop.
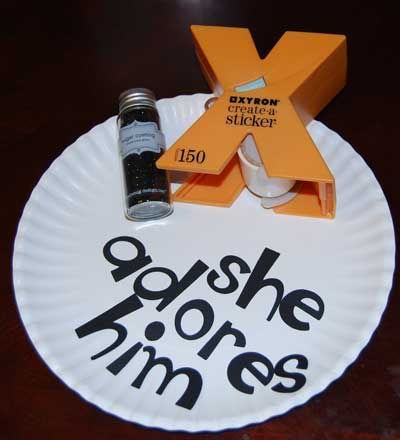
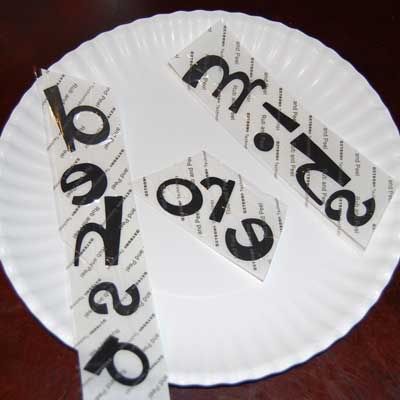
You can use any color cardstock for glittering letters, but I've found I get the best results when I use cardstock that is the same color or very close in color to my glitter. Since I'm using black glitter, I went with black cardstock. Run the letters FACE DOWN through the Xyron. It's much easier to glitter the face first and then apply adhesive to the back. I've actually done it both ways when I decided at the last minute to use a bit of glitter. You can do it, it's just far easier to glitter first.
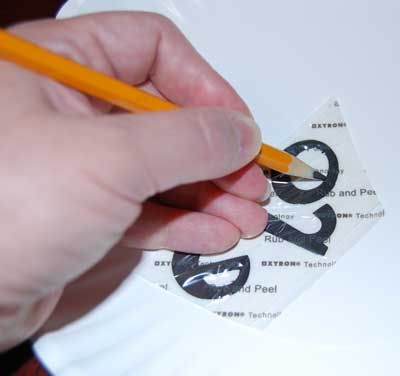
Give the letters a good rub. If you've ever used a 150 machine, you know that no matter how much you rub the cover, you still end up with adhesive boogers. There's all sorts of pricey tools you can use to eliminate these. Most rubon tools and scoring tools are effective. I find, however, that a slightly dull pencil does better than anything else I own. Take your time and carefully go around each edge of every letter. There's no rush. You don't get a prize for glittering first, and really, it's important to just take your time and make sure you get every edge.
Peel away the cover layer. If you see any areas where you still have adhesive (they'll be shiny and sticky if you touch them), use a bit of plastic wrap over the area, press and cut in those edges again. Once you've got all the extra adhesive boogers gone, flip your paper over and give the backer paper a good rub down. This will ensure a nice even coverage of the adhesive on the letter. This is particularly important if you're using textured cardstock. The Xyron adhesive likes to just sit on the high points, or peel away with the backer paper. Carefully peel off the letters and lay them onto your glitter surface. If you have any letters with missing areas of adhesive, very carefully run the letter back through the Xyron. If you're careful, it won't stick to the machine. Repeat the previous step to eliminate extra adhesive and then peel away the letter.
You're ready to glitter! While a little glitter goes a long way, now is not the time to be stingy. Dump a good portion of glitter over each letter. It will look like a mess and if you're not careful, you'll have glitter everywhere. I have one of those tidy trays, but I've found that a piece of paper, or a paper plate works just as well. When I'm doing lots of letters, the paper plate tends to work better. Keep in mind that the glitter will stick to the paper plate. If you're worried about that, take a minute to rub the plate down with a bit of corn starch and then wipe lightly with a paper towl. This help the glitter come off the plate. I usually don't bother as the amount that sticks is pretty minimal.
If you're a bit of a neat freak, this next step could drive you nuts. I shake the plate a bit to make sure the letters are well covered and then I just fish for them with my fingers. If you don't want glittered fingers, use a pair of tweezers. Hold the letters by the edges, making sure you're over the plate (or tidy tray, or whatever glitter surface you chose) and gently tap them on the back side. This will cause any loose glitter to flick off and back onto the pile. Set each letter off to one side. You may have more glitter jump off when you place the letter down. Just make sure you place them on a covered surface.

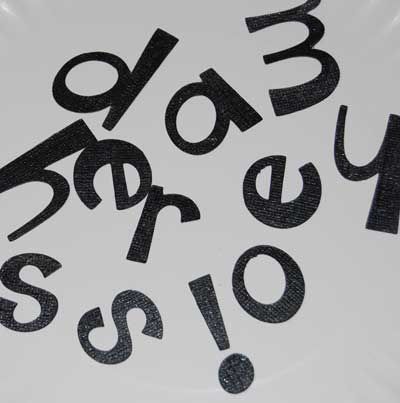
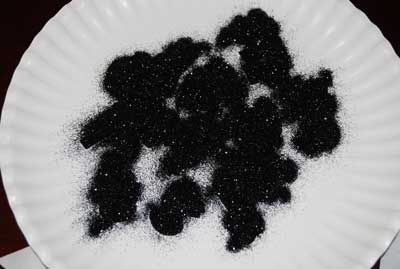
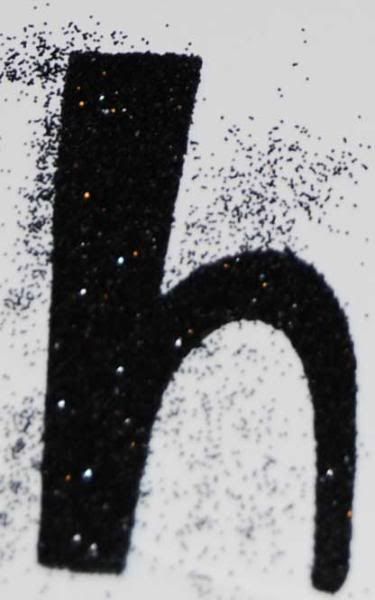
As I mentioned, glitter doesn't photograph well. So this shot looks pretty much like the first one. This next shot isn't much better, but you can get a bit of a feel for how the end results looked.
This is my glitter pile after I fished out all the letters. For cleanup, I simply bent the plate and poured the glitter back into the bottle. Once all the loose stuff was off, I took a paint brush and brushed anything else that would come off the plate into the jar. There was still a slight film, but as the jar was still full, I didn't bother with it and just chunked the plate into the recycle bin.

When I'm ready to stick the title down, I'll run the letters through the Xyron 150 one more time, this time face up. While the letters are still covered, a good rub down on the surface makes sure the glitter is well stuck. You'll still get a bit that will want to migrate to any possible surface. If this bothers you, once you remove the cover layer on the 150 paper, go over each letter with some Crystal Lacquer or other clear dimensional paint.
1 comment:
very cool! I need a cutting machine like that. Thanks for sharing your technique!
Post a Comment